Run an event registration
Twenty minutes, once per event. From an empty form to a published page that takes registrations, caps them at the number of seats you have, confirms each one by email, and hands you an attendee list on the morning of the event.
The example throughout is a workshop on 12 September, 30 seats, €25.
1. Build the form
- LocalForm → Add New, and give it a title. The web address is filled in from the title and can be changed.
- Add the questions with the + button: name, email, and whatever you actually need to know. Keep it short - every extra question costs you registrations.
- Mark the ones people must answer as Required, and drag the cards into the order you want.
- Leave the form as Draft for now, and Save Form.
An Email field is worth having even if you do not think you need one: it is what the confirmation email is sent to, and what lets you reach everybody the day before. See field types for the full list.
2. Fill in the event details
Open the Settings tab and find Event Details: date, time, location, organizer, payment price.
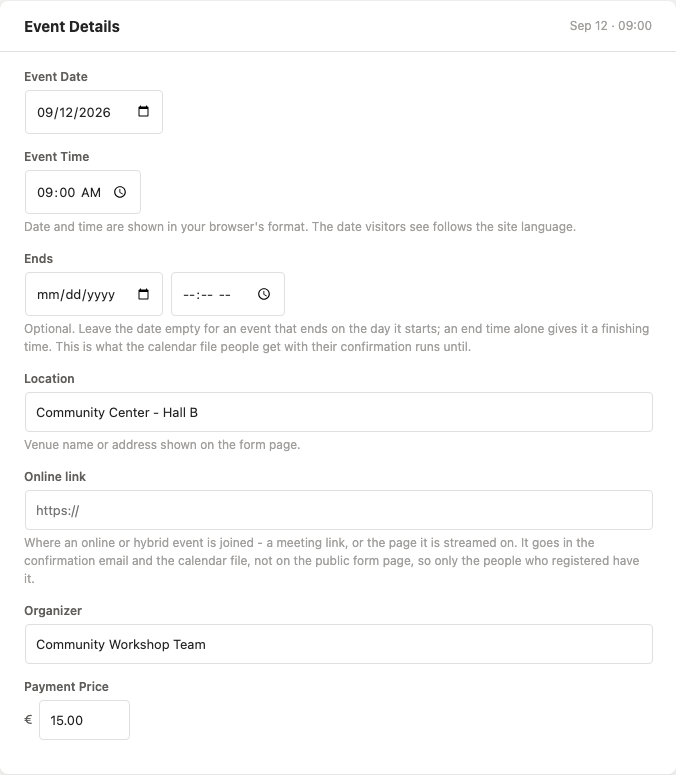
Whatever you fill in appears as a line of event facts inside the form, between the title and the first question, and rides along in the confirmation email ({event_date}) and in any webhook payload. To keep the data without showing it, uncheck Show event card on form page in the General panel.
With Pro you can also describe an event that does not fit one date or one price:
- Multiple event dates - a workshop repeated over three evenings, plus an optional question asking which date(s) each person will attend.
- Multiple event prices - €25 for adults, €15 for students, free for under-12s, each as a labelled rate.
The payment price here is a number shown on the form; on its own it does not collect anything. To actually take the money at submit, see Payments - or, if this site already runs a shop, Charge for registrations through your shop.
3. Cap it at the number of seats
In the Registration Limits panel:
- Maximum registrations -
30. Once reached, visitors see the closed message instead of the form. - Registration opens / Registration closes - optional, in the site's timezone. Closing registration two days before the event gives you time to print the list.
- Closed message - your own wording, replacing the default not-yet-open / closed / fully-booked messages.
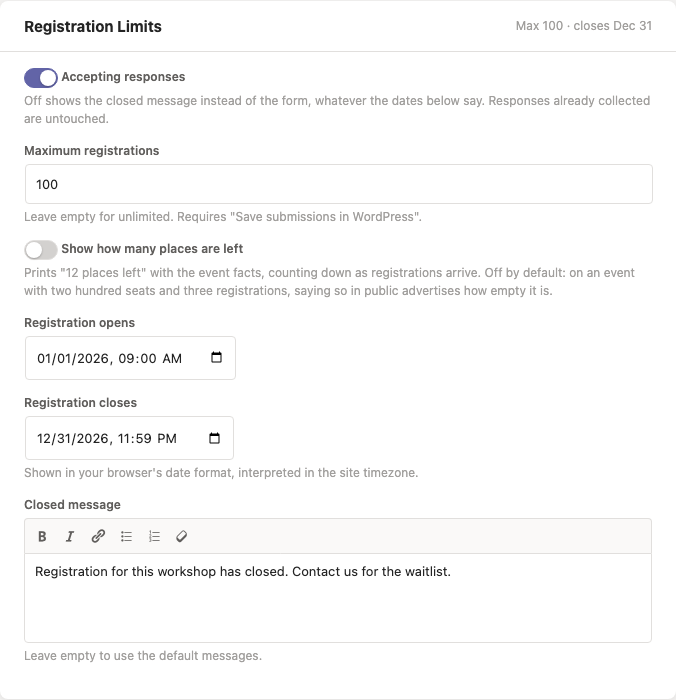
Every check runs on the server, so a visitor sitting on a stale page cannot register past the cap.
The cap counts saved submissions, so it needs Save submissions in WordPress left on. In webhook-only mode there is no local count and no cap.
4. Confirm each registration by email
In Email Notifications:
-
Enable Email the admin on each registration so you hear about each one. It goes to the site admin address unless you set Admin notification email, which takes a comma-separated list if the whole team should hear about each one.
-
Enable Send a confirmation email to the registrant. It is sent to the first Email field in the form.
-
Write the Subject and Message. Tokens are replaced per submission -
{form_title},{event_date}, and{field_name}for any answer, using the database field name:Subject:
Your seat at {form_title}Message:
Thanks {first_name}, we have you down for {event_date}. The hall opens half an hour before.
A plain-text summary of the answers is appended automatically, so you do not have to repeat them.
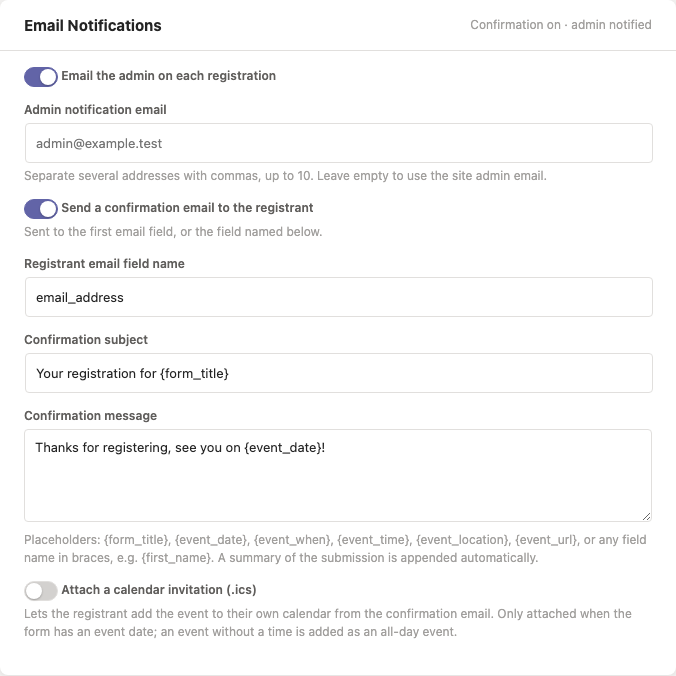
Emails go out through wp_mail(). If your site has no SMTP plugin, send yourself a test registration before you publish - shared hosting quietly drops a lot of mail. Details in email notifications.
5. Publish, and put it where people will find it
Set the form to Published and save. It now has its own page under /forms/ - /forms/september-workshop/, say - and the Preview button shows exactly what visitors see.
To put it on a page you already have, add the LocalForm block in the block editor, or drop in the shortcode:
[localform slug="september-workshop"]
Either way it is the same form, with the same limits and styling. See embedding forms.
Before you share the link, submit the form yourself once: you get to read the confirmation email as your registrants will, and to check the thank-you message. Delete the test submission afterwards.
6. Keep the spam out
A public registration form will be found by bots within days. Turn on the three protections under LocalForm → Settings → Security before you advertise the link - cut down spam on your forms walks through them.
7. Watch it fill up, then export the list
LocalForm → Responses shows every submission, with a summary per question and an individual view.
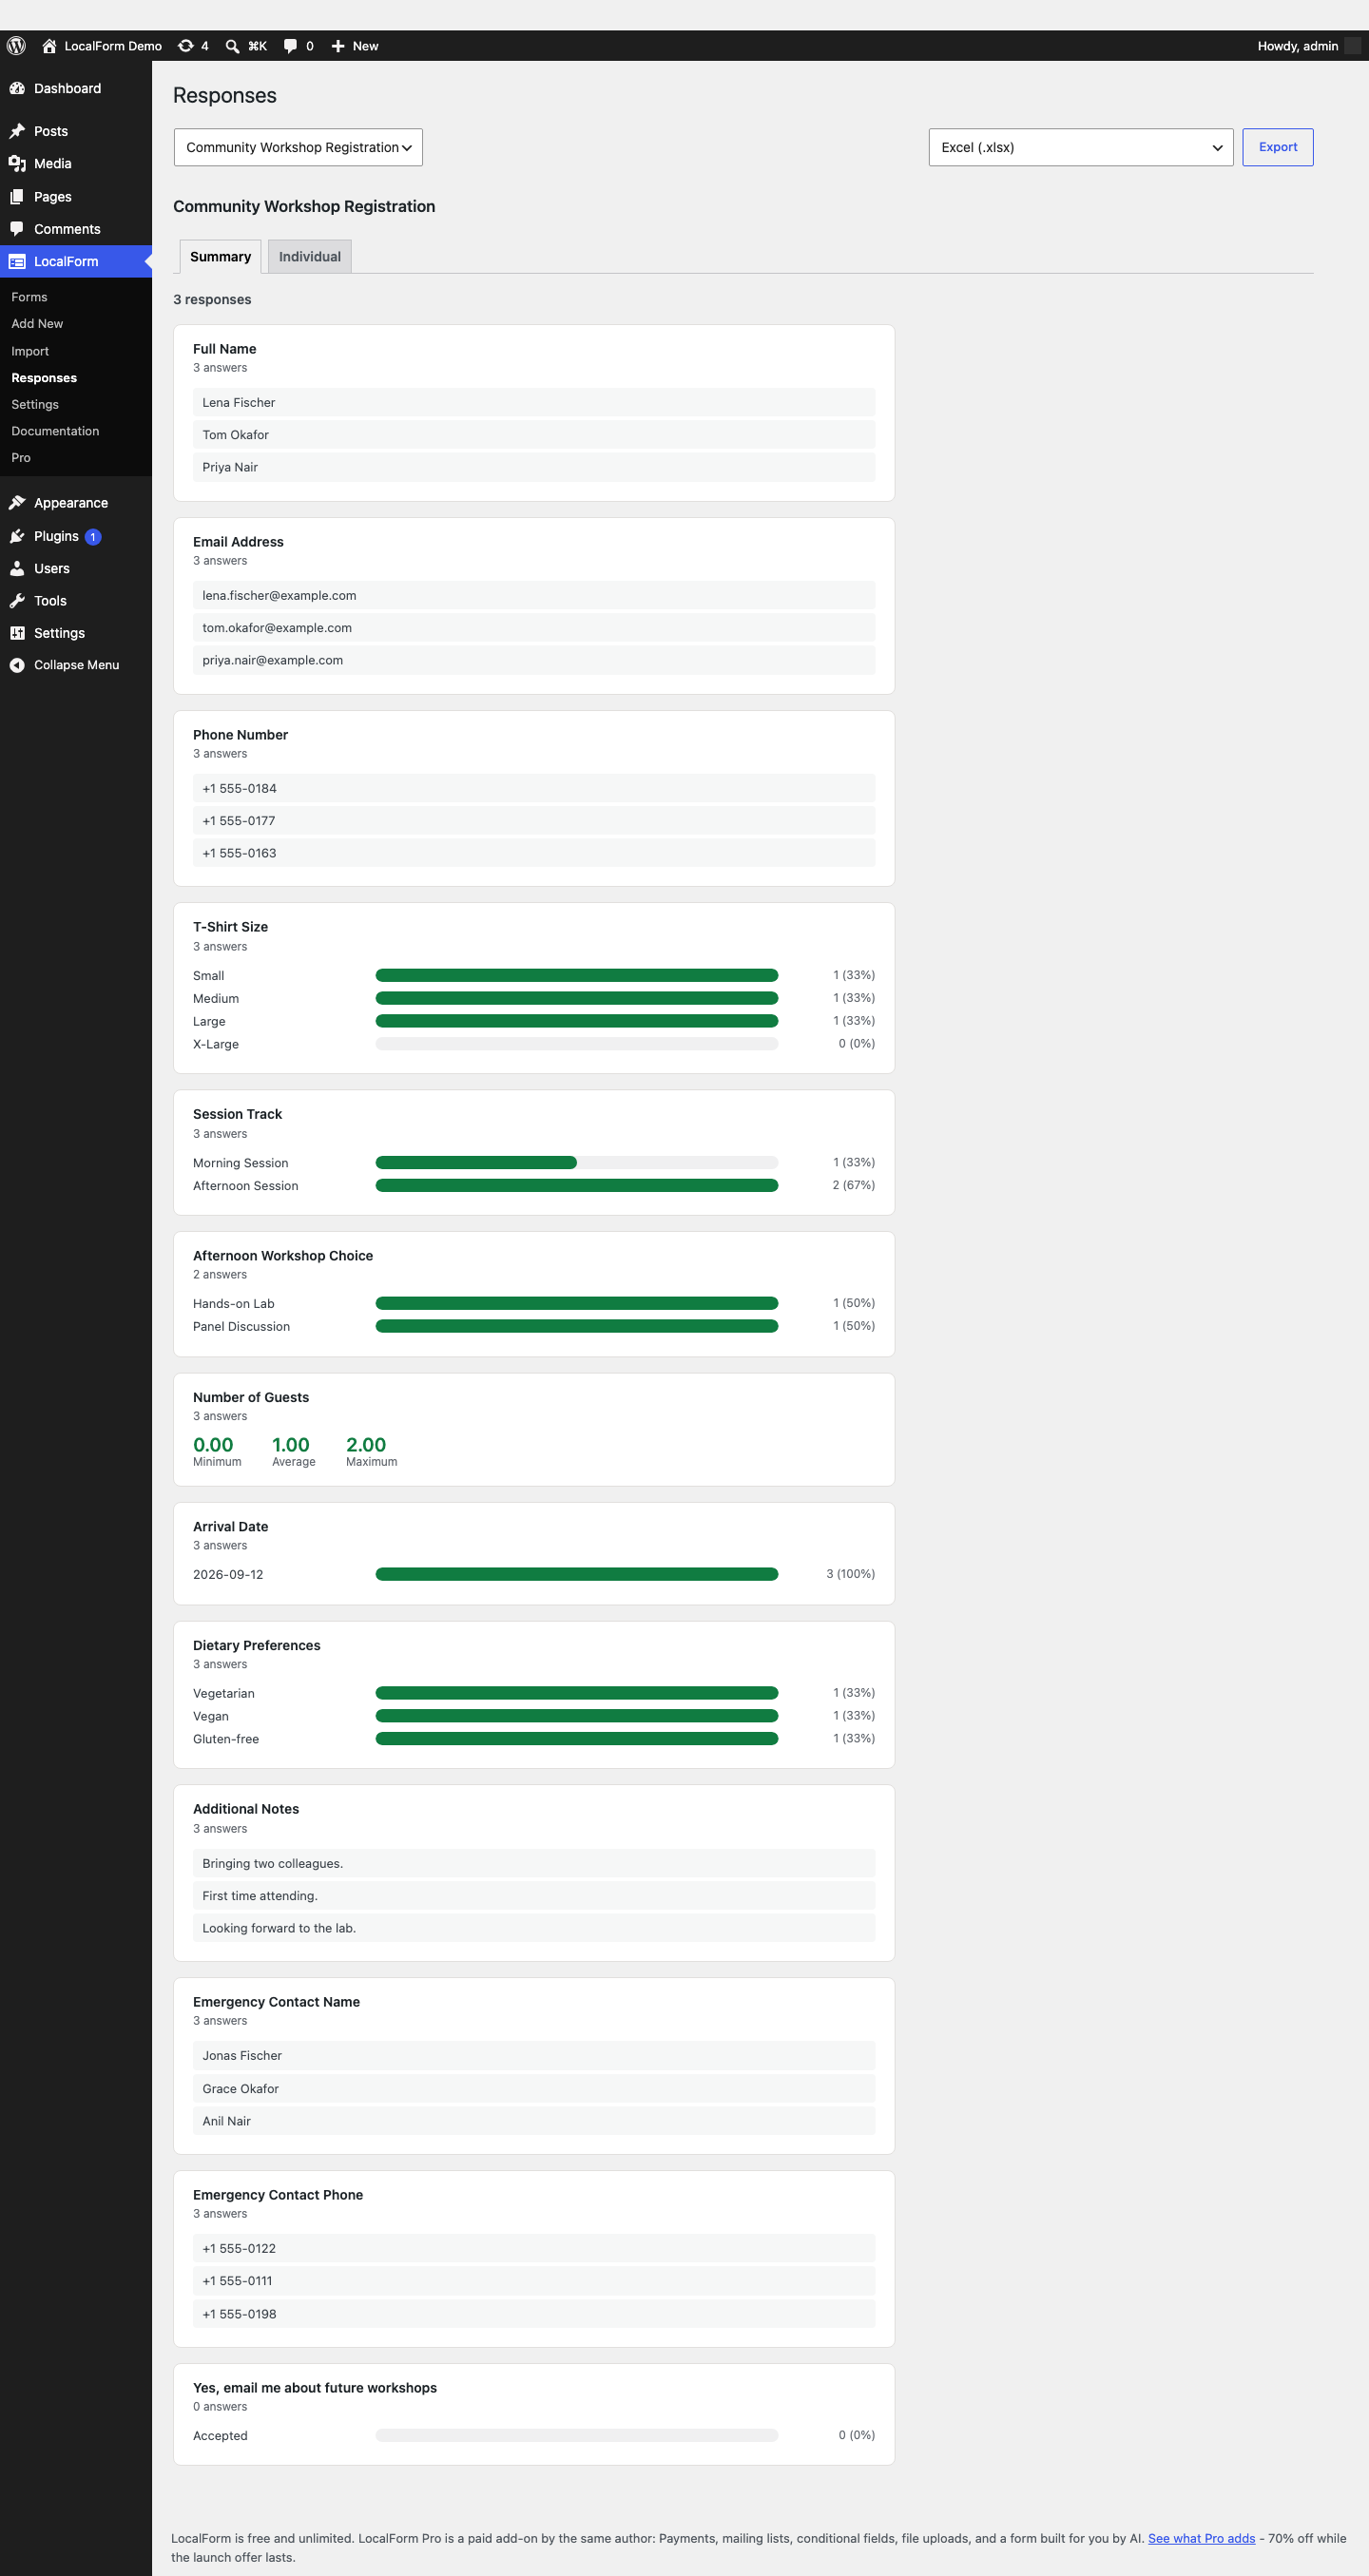
When registration closes, export the XLSX and you have your attendee list. See responses.
If you also need the data elsewhere
A payment provider, a CRM, a spreadsheet automation - point the form at a webhook and every submission is POSTed there as JSON, retried if the endpoint is down.